

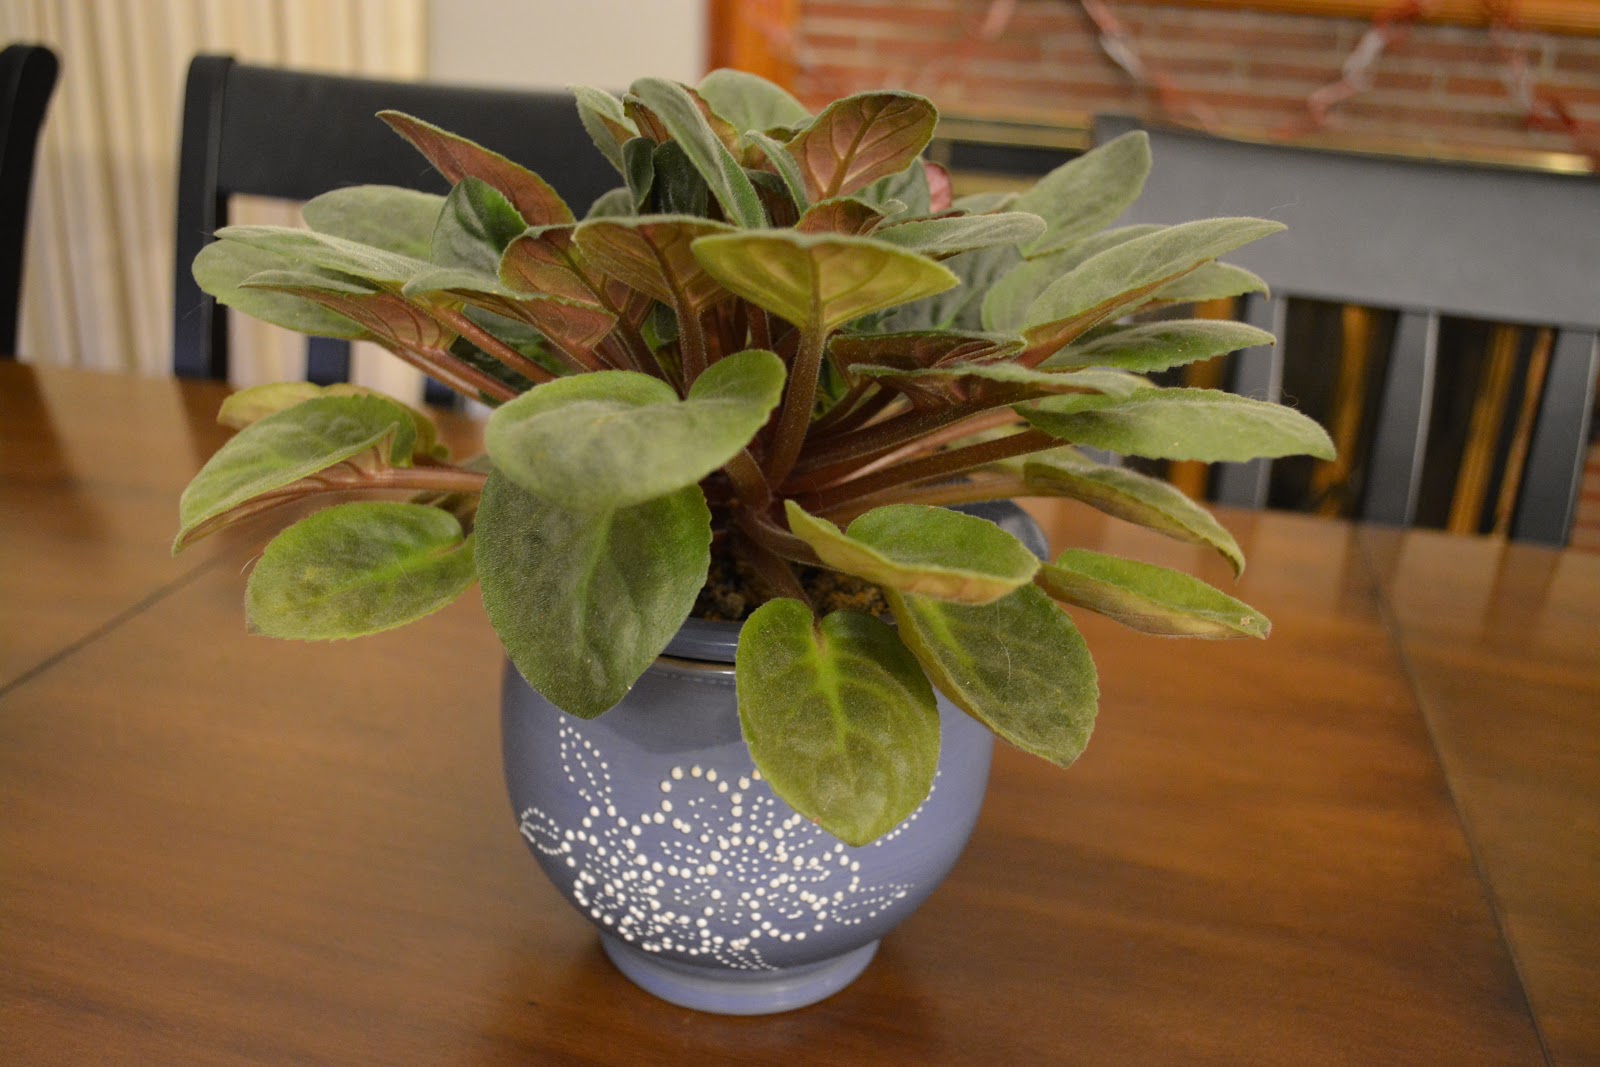
About this time last year, I wrote a post with a few tips on how to
care for an African Violet and how to encourage it to bloom. Since then, my plant has bloomed two more
times! It has also grown significantly and
has nearly outgrown its pot. As the
plant grows taller, more and more of the stem becomes exposed making the plant
top heavy.

To start, I cleared space to repot my plant. Due to the crazy low temperatures and rain, I
had to do this project inside instead of outside! To contain any spilled dirt or water, I use
a boot tray. I get mine really cheap
from Aldi and they work perfect to keep my space clean while indoor
“gardening”.

I then took a look at my plant.
Yes, I just LOOKED at it. One of
the coolest things about an African Violet is that it grows uniformly in a
circle, so I wanted to make sure that I kept that shape. Much of the stem was already exposed due to
leaves falling off throughout the year, so I took note of which leaves I could
take off and the plant would still look balanced. I didn’t want the plant to be lopsided!
Next, I popped several of the leaves off. First, I removed the leaves that were
yellowing. Then I popped off the green
leaves that would balance out the plant since I just removed the yellowing
ones. Then I popped a few off to make the
plant the size I wanted it to be. In
all, I popped off about 15 leaves. These
will be used for propagation, so I took off a few more than I might have done
otherwise.

By “popping” off, I mean that I carefully wiggled the leaf at the base
until it “popped” off from the step. If
you try this method and the leave rips off, that’s okay. You can use it for propagation, and pop the
rest of the stem off at the base.


Next, I planted the main plant back into it’s pot with fresh soil. I made sure to clean the pot out completely to
give it a fresh start. I have used the Espoma
African Violet soil in the past, but I purchased the Miracle-Gro African
Violet soil from my local garden center because it is what they had in
inventory. My review of these soils is
below.


I first put some soil in the pot, placed my plant, and then filled in
the rest of the pot with soil, fairly easy.

I purchased a second African Violet on clearance while at the garden
center this weekend, so I potted it up the exact same way. I have no idea what color the flowers will
be, so I’m excited for this one to bloom.


Propagation:
You can propagate African Violets from cuttings. This means, you can grow a second plant from
a piece of the original plant, much like succulents. You don’t have to gather seeds and re-grow a
plant like a pepper, for example.

To propagate, take healthy looking leaves from an African Violet plant
and take off the stems to about an inch from the leaf.

Next, fill pots full of moist African Violet soil.

Make sure the soil is moist and not completely dry! I used my watering can from Gardner's Supply to water my soil first.

Then, place the leave stem into the soil at a
25 – 30 degree angle. The little hairs
on the stem will turn into roots and a new plant will grow from that leaf.

I put a tooth pick in one pot to mark that pot as having the “new”
African Violet leaf, and not the my already known purple flowered plant. Any time I do an “experiment” I try to label
and record as much as possible so I can learn what worked and what didn’t.
Espoma Vs Miracle-Gro Soil

I didn’t think that the two soils would be very different because they
are both made for African Violets, but boy was I wrong. The Miracle Grow soil was more mulchy, while
the Espoma soil is more loamy. I
personally like working with the Espoma soil better. I also like that the Espoma has a zipper to
close the bag, vs having to just fold it over – it is much more tidy!

Currently, I’m noticing that the Miracle-Gro soil holds onto moisture
a bit differently and my plants are reacting as if there is too much water in
the pot. I re-potted and propagated
using the Miracle Grow soil, but after a week I might report them again with
the Espoma soil. I’ll give them all a
week to settle into their new pots and see what happens. Most plants are fairly resilient, so they
should bounce back in either case.

When you water your african violet, the established ones, do you water from the top, or leave water in the plate to soak up the water as needed?
ReplyDeleteGood question! I water my african violet by using a special pot. The pot is two parts, the outside decorative water pot, and the internal ceramic pot that the plant is planted in. The ceramic pot lets the water from the decorative pot absorb into the soil. This is the easiest way to water an african violet in my opinion. Otherwise you would want to water from the bottom of the plant as you can hurt the leaves if they get water on them.
Delete