Thursday, March 30, 2023

DIY - Foaming Hand Soap (EASY!)


I love the pretty labels on foaming hand soap -for some reason, they are cuter than just regular ol’ soap that have the pictures of the fishies.  But, they can be really expensive!    However, I learned a cool trick to refill your foaming soap bottles with cheap liquid hand soap.


Take your empty foaming soap container and fill it about 25% full of your liquid hand soap.


Fill up with water!


Done!  Now you can enjoy your cute foaming soap containers without the price!


I wouldn’t do this with soap that states it is antimicrobial or antibacterial – these have special ingredients and diluting them would change the mix. 


Monday, March 27, 2023

Cookie Monday - Flour Sifter Chocolate Chip Cookies


Welcome to Cookie Monday!

I bake a batch of cookies each Monday to have throughout the week for lunches, as well as a sweet treat after work.  This week, while in the process of making my weekly bread loaf, I remembered that my new flour sifter came with a cookie recipe on the bake of the label!  I decided I wanted to try this new cookie recipe and thought I would share how I approach baking any new recipe!

Recipe on the back of the label:

First, make sure you have all the ingredients (or a good substitute) before you get started.  You wouldn’t want to get half way through the recipe and realize you don’t have baking soda, etc. 


Second, follow the recipe as close as possible/record what you changed – why? 

1.       Because if you like it, you’ll want to be able to reproduce it,

2.       If you don’t like it, you’ll want to be able to change what you didn't like about it in the future.

But you can’t do either of these things if you don’t know what you did to begin with.

For example – I usually don’t measure vanilla (because more is better, right?) in my regular go to chocolate chip recipe, however I measured for this new cookie recipe so the amount of vanilla isn't a factor in how the recipe turns out. 

For my first time baking these chocolate chip cookies, I used butter instead of margarine because I don’t use margarine. 


Also, I wasn’t sure if I was supposed to use sifted flour or packed flour.  Since the recipe came on the back of the sifter label, I sifted it and measured how I do for my bread.  On average, sifting flour causes the measurement to be less than when it is packed.  

I made a note of both of these "changes", so I had notes for next time.

Third, when ready to bake, run a First Article of your cookie dough through the oven.  Never heard of a First Article before?  It is a term used in manufacturing when you change a process or mix and you want to see how it turns out before running the entire batch.  I do this with new recipes so I have the opportunity to make a quick change if possible.

To do this, you just put a few scoops of dough on one pan to bake first, so if there is any issue (burning, spreading, etc) you don’t ruin the whole batch. 


I thought the cookies spread out too much while baking my first article, so I put the dough in the fridge to firm up a bit. 


After another round using the firmed dough, I thought the cookies were still a bit large, so I decided to use a smaller scoop. 


Fourth, write down any changes or notes from baking the batches and any changes you would want to make in the future. 

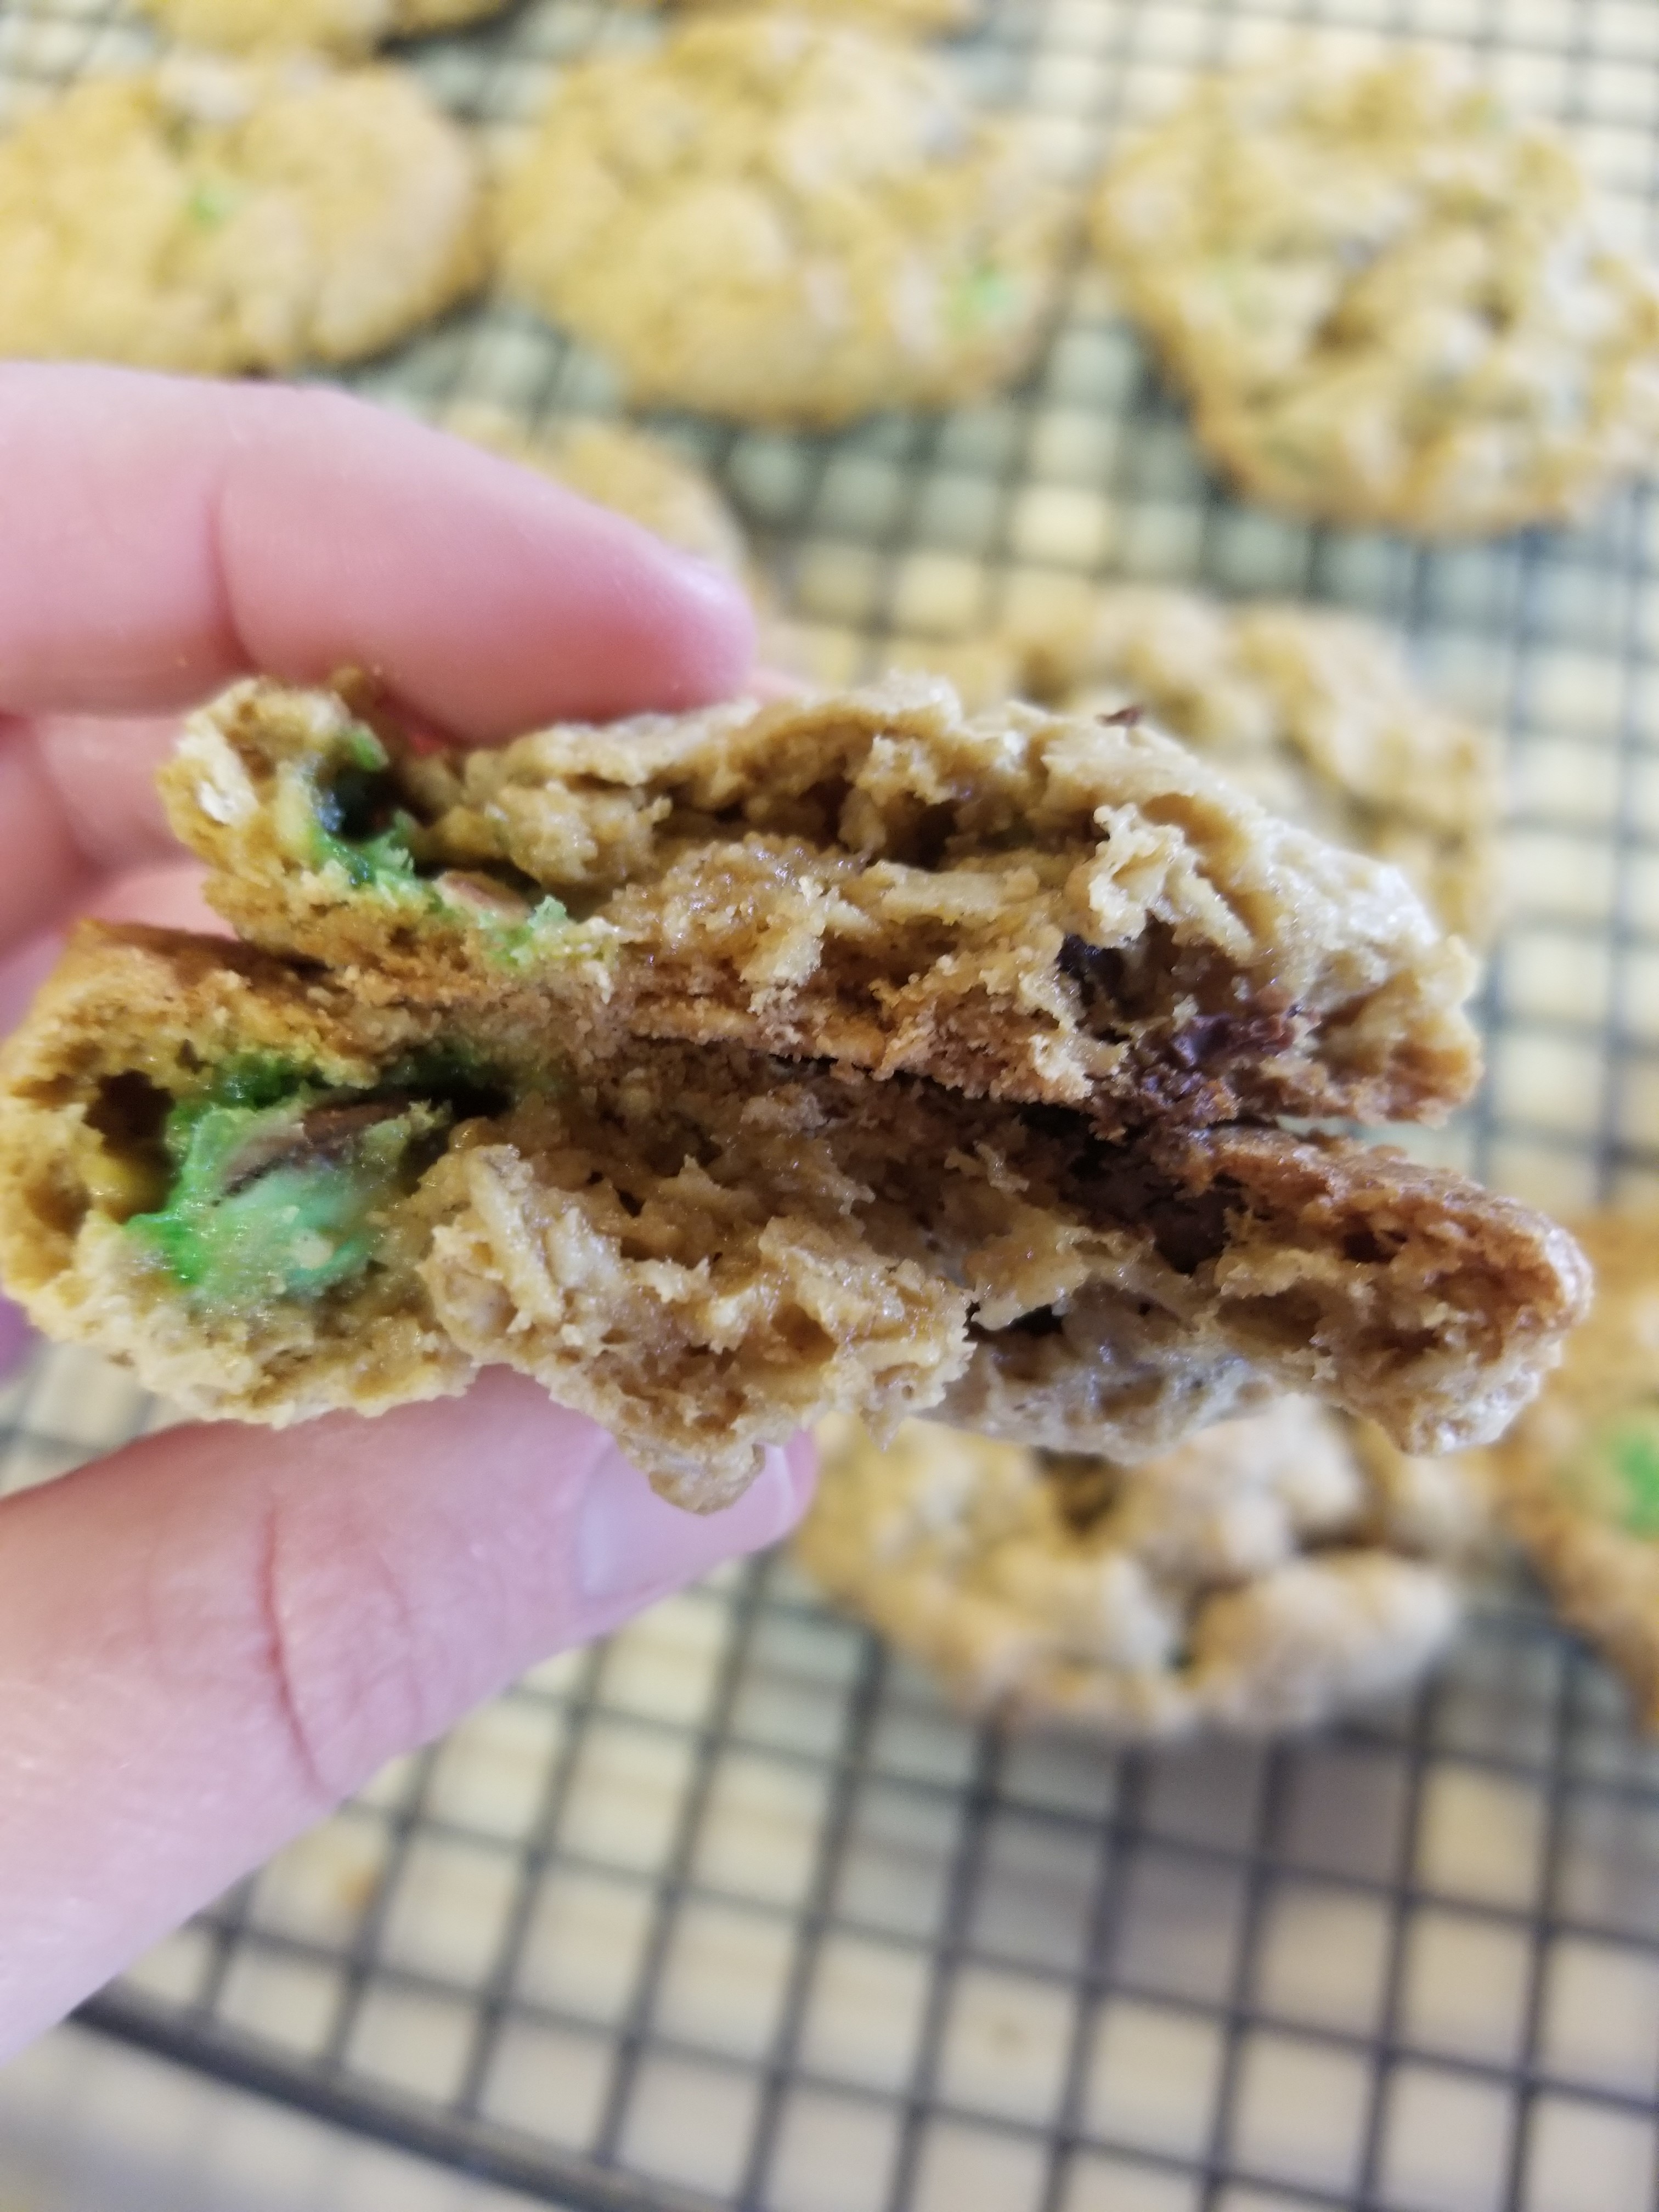
I thought these cookies are extremely thin which makes for a good cookie when warm, but after they cooled they were extremely crunchy.  Still good, but not my target cookie consistency.  


I prefer a bit of a softer cookie, so next time I make this recipe, I am going to try packed flour instead of sifted and see if that makes a difference!  


Friday, October 30, 2020

How to: Remove Wine Bottle Labels / Halloween Decor


You probably know by now that I love to turn trash into treasure.  I've shown you how to create your own "milk bottles" and how to reuse plastic containers in your kitchen.  This how-to is to explain how I take labels off of wine bottles and turn them into decor!  


First, you have to drink some wine, which isn't too bad of a step one if you ask me!  I've been collecting these wine bottles and finally have an idea of how to decorate them.  Before we make some decor, we must take off the labels!


Here is how I get the labels off of wine bottles:
1.  Fill your sink with some warn soapy water.  

2.  Toss in the wine bottles and let them soak.  You should be able to see the labels start to get soggy as they darken in color.  

3.  Start to peel the labels off by any corner.  If the label is fully "wet" it should come off fairly easily.  If the label rips as you peel it, toss the bottle back into the warm bottle bath to continue to soak.  

4.  If you have any "goo" left on the bottle after peeling the label off, use a magic eraser or goo-b-gone.

5. Wash and dry the bottles!


Once the bottles are dry, they are ready to paint! I decided to make three sets:  Frankenstein, Jack-o-lantern, and Ghost!  

I used acrylic paint and a foam brush to paint the bottles.  It took a few coats, but once the first layer of color was dry, it was ready to turn them into characters!


There you go, easy peasy Halloween decor, from some "trash" you were going to recycle!

Tuesday, October 27, 2020

DIY: Halloween Brittle


I love using melted chocolate to make desserts because it is so easy to use and you don't have to pre-heat the oven!  Usually I stick to chocolate covered pretzels or oreos, but today I have a brittle recipe that is perfect for Halloween!

Just a few simple steps and you'll have a perfect snack while you watch your favorite Halloween movie!

What you'll need:
Chocolate Chips
Candy Corn M&Ms
Candy Corn
Wax Paper


First, place the wax paper on a tray for your brittle making surface.  Then melt the chocolate chips.  Spread the melted chocolate on the wax paper to make a "chocolate patty". 


Next, sprinkle the M&M's and candy corn on the chocolate patty.  Press the candies into the chocolate so they stick better when the chocolate hardens.  


Now all you have to do it wait!  Wait an hour or so while the chocolate hardens really well.  You could even put the chocolate into the fridge to speed up the process.  Once hard, break the patty into small pieces - this makes it a "brittle"!  


I can imagine putting a few pieces in a plastic bag with an orange ribbon for a gift, or just munching on a few pieces while watching Hocus Pocus!


Enjoy and Happy Halloween!

Thursday, March 14, 2019

The Steps to a More Perfect Container Garden


Last year I showed you how I started my seedlings indoors.  My process worked, but as I have been upgrading my container garden, I decided a needed I a little bit more preparation this year in order to have a smoother spring/summer.  Usually I plant seedlings and put those seedlings into pots when they are big enough to go outside, however I never really thought through the space or number of pots that I had on hand.  So, I ended up putting a plant in either too small or too big of a pot, not having enough tomato cages, or not having the space to put them altogether.  This year, I decided to decide what my garden is going to look like BEFORE I start my seedlings so that I don’t waste time or effort later when it comes time to put them outside.

Last spring, the Mr. Fix-it husband upgraded my watering system from hoses and 360 degree sprayers that mostly just got the ground wet, to a fantastic built in piping system that allows me to have rows of container plants on my deck!  This is perfect because from where our kitchen is, I get to look out at my garden each day, as well as have easy access to the veggies for a fresh salsa or salad.  Below is a picture of what my “garden” ended up being organized last year:


I really enjoyed this set up last year, so I decided I wanted to do the same thing this year.  But first, I had to decide what I want to grow.  I had a few plants last year that I still have in the freezer that I don’t need anymore of (lookin’ at you jalapeno pepper plant) and some new ones I wanted to try. 


I started this process by writing down a list of the plants I knew I wanted to grow (tomatoes, bell peppers, eggplant, and herbs), then looked through my seedbox to find the seeds I already had on hand, and then looked through several seed catalogs to find new plants that I hadn’t grown before.  This process took most of January.  I took my time with this process because, everything was frozen and I really enjoyed looking at all the plant catalogs!  This process shouldn’t be rushed, and I wanted to take  to think about what I wanted to harvest in the future. 


Part of the process of looking at my own seeds included building my own seed storage box.  While searching for my seeds, I realized I had them stashed in all sorts of places and I wanted one container to call my seed box.  I shopped in catalogs as well as online for a box that I liked, but I couldn’t find anything in the shape or price range I wanted, so I decided to use my new wood working hobby to make my own.  (Let me know in the comments if you’d like to see the process in a post!)


After I had settled on a list of plants and purchased seeds for the items I didn’t already own, I decided to stay organized and write this information down.  (I know, sounds simple, right?)  I have not been very good at keeping a garden journal so I don’t have a good sense of what time of year we normally have our last real frost.  There are several websites with rules of thumb, so I decided to use that date until I had a better understanding from my “future” garden journals.  My area’s average last frost date is April 15th.  This date is important because most seed packets reference a “start you seeds” date based on the last frost for the year.  I made a list of each item, how many weeks before or after the frost date they should be planted and made an excel formula to tell me when I need to start the seeds (yes, I’m an excel nerd).  Now I know exactly when to start the seeds for each item instead of looking at each of the seed packets each weekend and doing to math to decide if I need to start some or not. 


Once I had the seedling start date, I needed to decide how many seedlings to start!  In order to do that, I need to know how many mature plants I want.  I started to list in my same spreadsheet the quantity of mature plants.  This would be another helpful piece of information to keep in a garden journal, for example, do four tomato plants produce the quantity of tomatoes I need, or should I plant five to keep up?  Or were eight eggplants too much for one year and I should cut back to six the next, etc.  I had to guess this year based on what I remember from last year and picked out how many I wanted of each.  I then categorized each item by what type of pot they would go into, and used a count formula to add up the quantity of each type of pot.  This way, I already know many of each kind of pot I need.  Lucky for me, I have twenty of my five gallon vegetable pots and I want exactly twenty vegetable plants (don’t you just love it when a plan comes together)?


Here is an idea of the pots that I use:
  • Vegetable Pots:  mix of different five gallon pots are the perfect size for one plant (tomatoes, bell peppers, eggplants, etc).
  • Small Pots:  mix of one to two gallon pots for smaller herb or lettuce plants
  • Rectangular Pots:  foot long rectangular plants for onions (see post here).
  • Trough:  very large 150 gallon trough on sale that I am going to try and use for large crops, and perhaps potatoes in the future
  • Grill:  an old grill that I converted into a planter which is the perfect standing height for a planter and works well for small herb plants like basil, rosemary, and cilantro.     
  • Decorative:  pretty pots I have collected over the years that I use for flowers


Once I had my full list of plants, quantities, and pots, I decided to map out how the container garden would look, much like my 2018 view.  This is really helpful because, now I don’t have to think about where I’m going to put each plant when it comes time to place them outside in a couple of months!  I already did all the work!


Now to get started on those seedlings!

How do you decide what to plant?  Do you keep a garden journal?  I want to know!

Related Posts Plugin for WordPress, Blogger...